Landscape malpractice

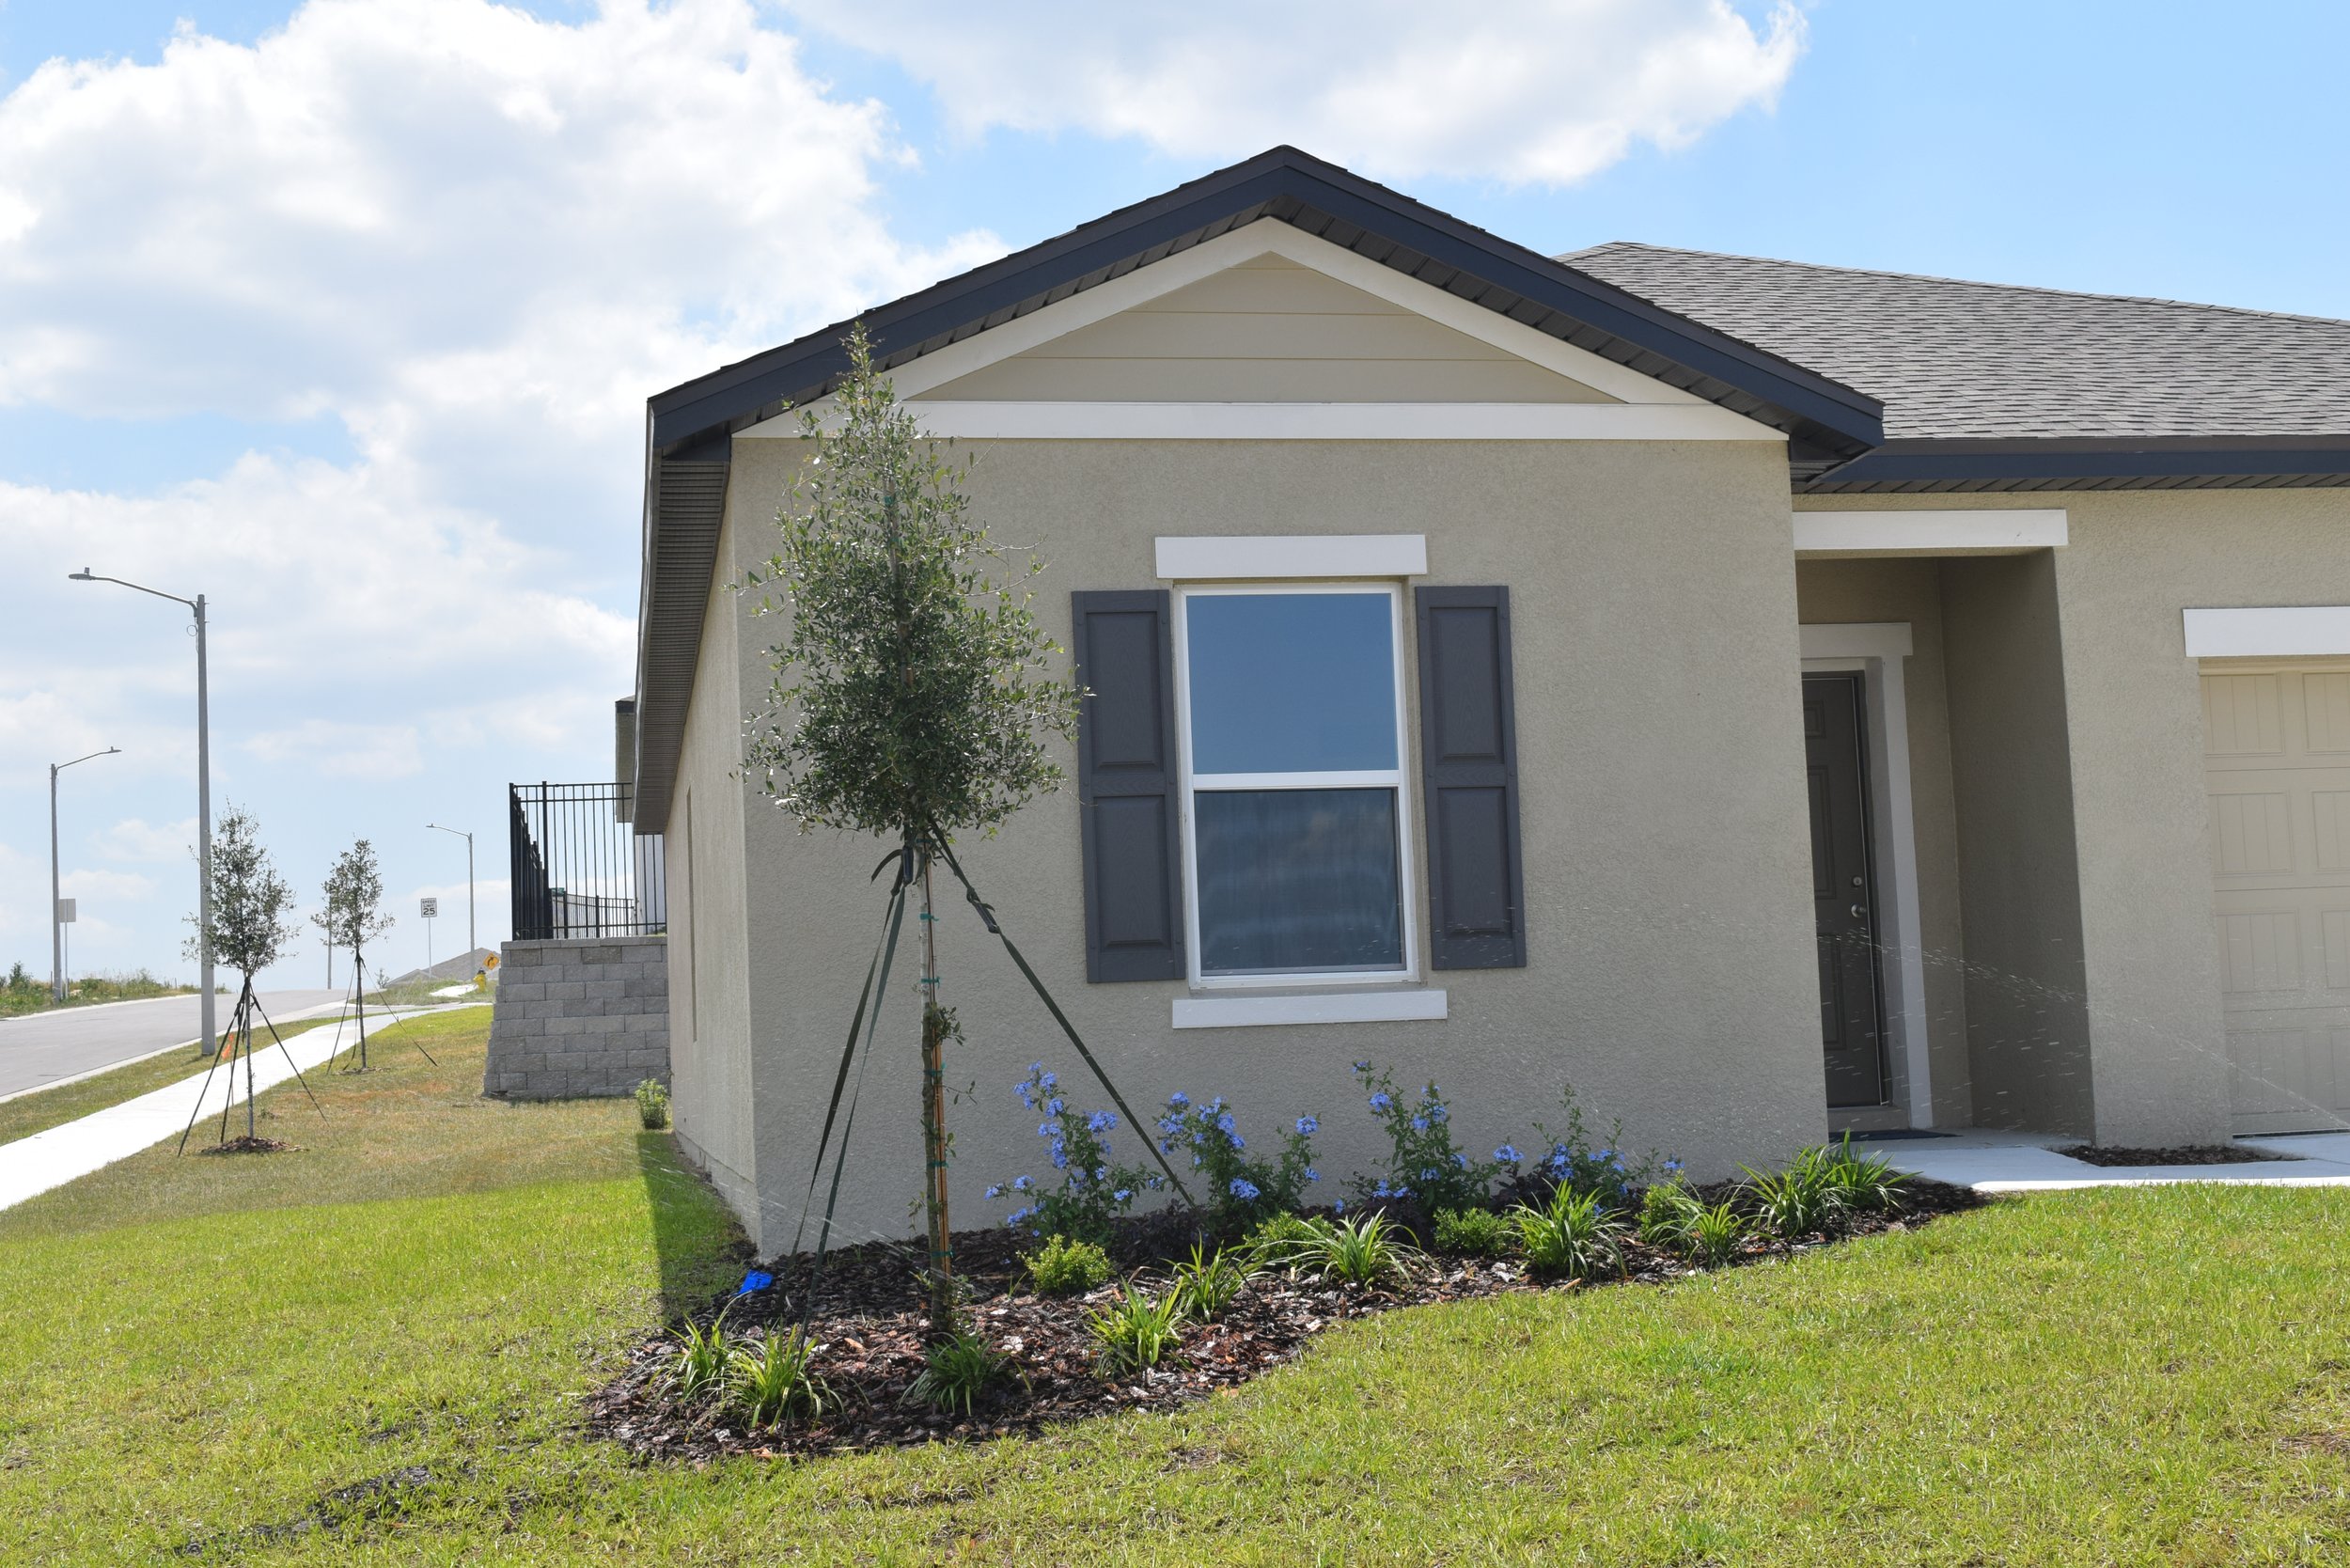
There once was a new home being built in a wealthy, very celebrated community. It was time for the sidewalk to be poured. The hardscape contractor noticed that the irrigation spray head was in the sidewalk and asked the landscape irrigation contractor to move it. He asked nicely three times. The landscape irrigation contractor didn’t move it. So the hardscape contractor couldn’t wait and because he was a professional, he went ahead and poured the cement but made sure the head wasn’t covered. Now landscape irrigation contractor and the hardscape contractor and the builder all got paid and lived happily ever after.

This home was built ten years ago, and my client wanted to renovate their front yard. I noticed the irrigation head and couldn’t believe that it was allowed to happen. Coincidentally, the hardscape contractor was working on a patio next door and he was the one who actually told me the story. Not a lick of shame as he told me that he just went and poured the cement anyway. I don’t know if the spray ever worked but it was never going to work now.

Just a blatant reminder of the lack of initiative and poor workmanship to move the irrigation pipe out of the way or demand from the builder that the problem needed fixed.

If you see something, say something.

This isn’t a new landscape malpractice but one as old as dirt. Wherever there is an empty space of dirt that sees the light of day, Mother Nature will fill the vacuum with plants. And they are usually weeds. That goes for sparse turfgrass, unmulched landscape beds, areas with not enough mulch, and even a cement sidewalk crack with 150,000 grains of sand (one-half square inch).

The proper landscape maintenance before applying a new layer of mulch is to remove all the weeds, level the ground, and then put down the mulch. Depending on how much mulch is already in the bed, the landscaper would only put down enough mulch to bring it up to 3” – 4”. Mulching over weeds is an endeavor in futility. The weeds will only flourish with 1” to 2” of mulch and spread. Eventually the weeds take over, need removed and it needs more labor to remove around the already existing shrubs and groundcovers.

Don’t mask the weeds. Clean the bed out properly, remove all the weeds by hand or by chemical, (preferably before they have gone to seed), and then put down the mulch. Less work in the long run. Your landscape beds will look well-maintained and attractive for a season or more.

Growing up in the 50’s and 60’s my idea of bare-bottom was the Coppertone advertisements of its sunscreen lotion. A frisky puppy tugging at a baby’s diaper displayed on billboards and magazines, bare-bottom became synonymous with nostalgic Florida beaches. It became an iconic symbol selling millions of dollars in suntan products.

Back to the future in the 21st century, a frequent public display of landscape malpractice is what I call “bare-bottom syndrome.”  It’s when landscape maintenance companies or homeowners, especially ISTJ and ESTJ personalities, engineers, or linear thinkers, use their pruning tools to cut straight down the sides and tops of shrubs. They look perfectly neat and straight… for a while.

After one to two years of cutting the branches and leaves with straight lines prevents the shrub from receiving adequate sunlight to the bottom of the plant. This causes the plant to drop its leaves, resulting in a bare bottom with a V-shaped shrub. Leaves only at the top of the plant and no privacy.

To prevent losing your foliage, cutting shrubs with a slight angle outward at the bottom will enable the plant to keep bottom branches growing leaves.  

Rejuvenate improperly cut shrubs in stages, prune the tops first so that the area is smaller than the rest of the shrub. Allow sides to grow out.  Prune thereafter at a slight 80⸰ angle allowing the bottom to be larger than the top of the shrub.

Pruning your shrub correctly without bare-bottom syndrome, you won’t need to have nostalgia remembering what your plants looked like when you first installed them. Your hedge will stay full and dense with plenty of leaves at the bottom. .  

See the graphic for correct angle.

I’m guessing the homeowners are big fans of Dr. Seuss or their landscaper tried really hard to get the shrub tiers straight, but it didn’t end well. This reminds me of my Momma trying to cut my bangs straight and I would hear “oops” and she would go back to the side of my head and try again, and again, only to stop when my bangs were only 2 inches long. It did grow back. If this is your landscaper, stop them. There are correct ways to get an exact cut.

  • Take string and a ruler and measure the string for each level’s height of the topiary. Tie the string to the top and hang down to the ground. Take your pruners and clip very lightly where the string (don’t clip the string) is marked. Then take your level and balanced in into the shrub and cut the foliage along the balanced level. Eyeballing isn’t a good idea.

  • You can also take a ruler and just measure between the tiered foliage to get exactly the height you would like.

  • Clip very lightly. This is not a job that needs a pole saw trimmer, but small hand pruners. And it should take you more than 3 minutes to prune 3 shrubs.

If you like the Dr. Seuss theme, go for it. But think about adding garden art to your beds, or large colorful orb or whimsy, so it looks like it’s a deliberate magical garden theme. If your landscaper is having “oops” moments, it’s time to find a new landscaper.